If you’re already a customer, the fastest way to get help is through our support ticketing system.
Have a pre-sales question or general question about how our site / service works?
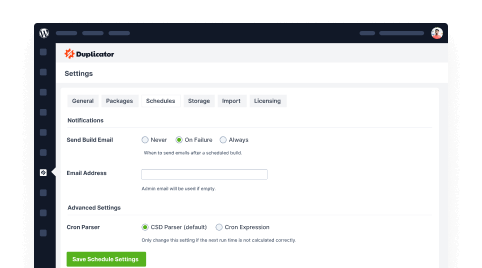
Documentation, Reference Materials, and Tutorials for Duplicator